
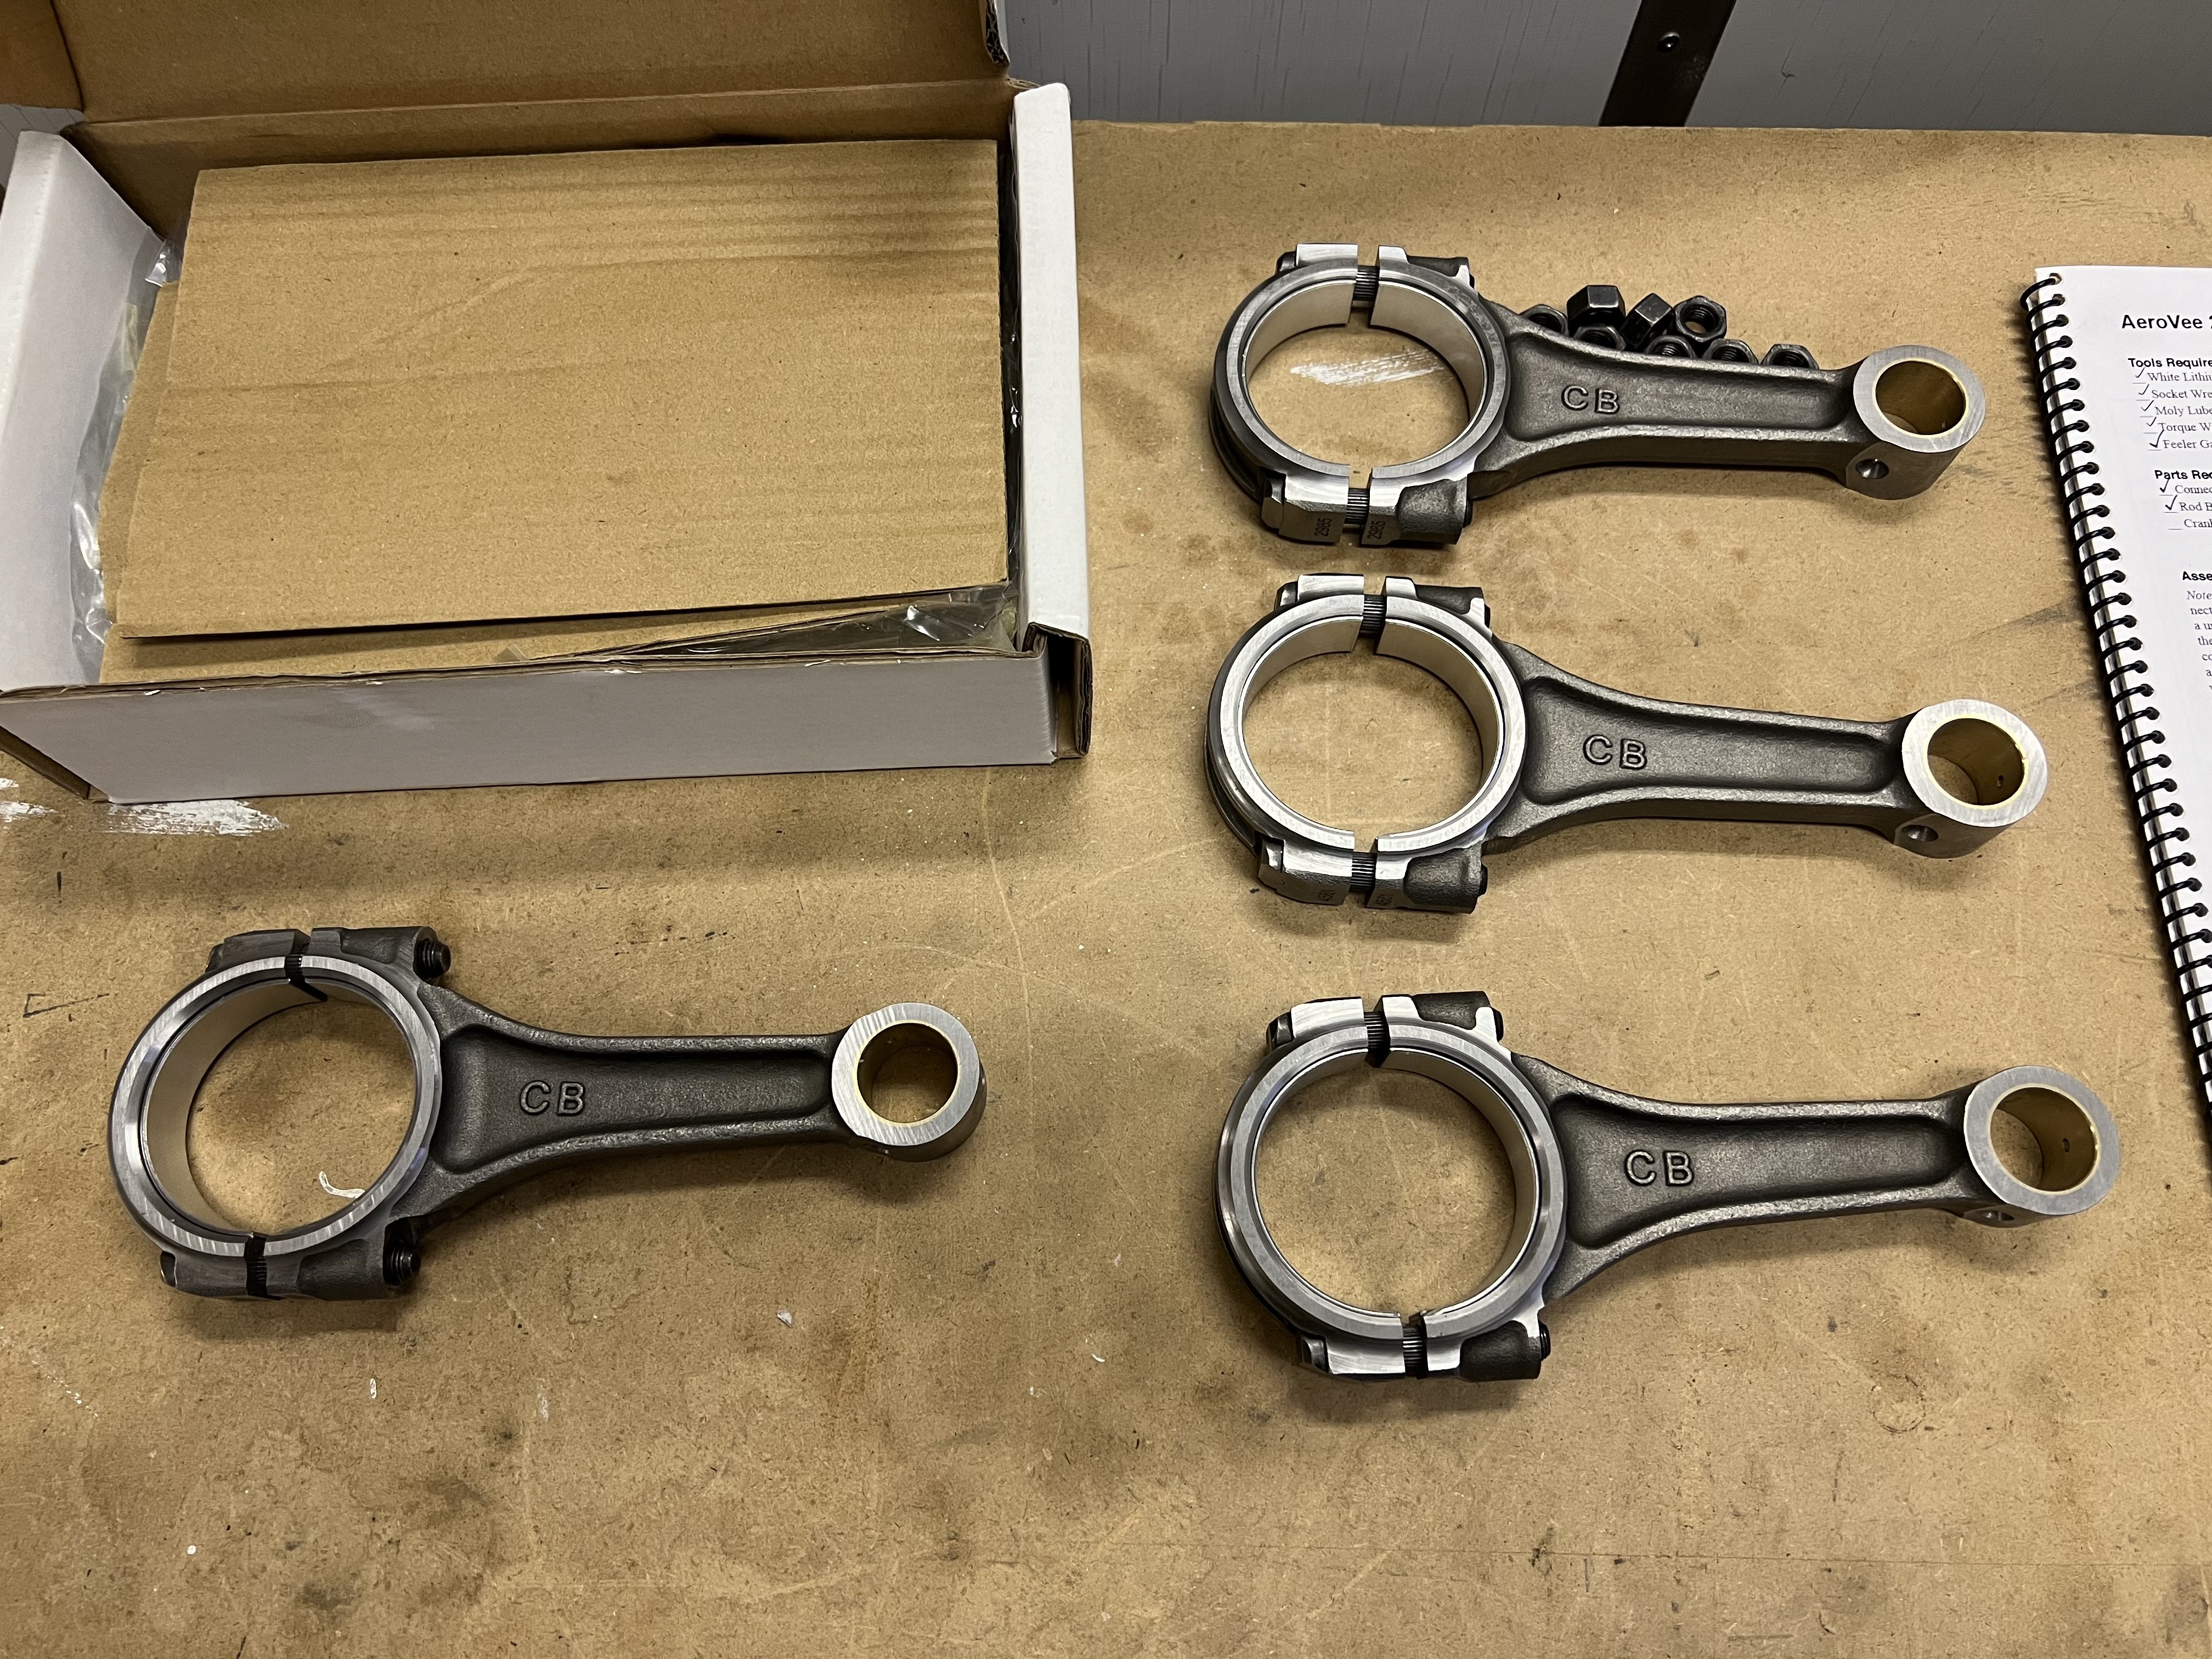
I continued working on the connecting rod assembly. After loosening all of the fasteners I cleaned the mating surfaces and installed the bearings.
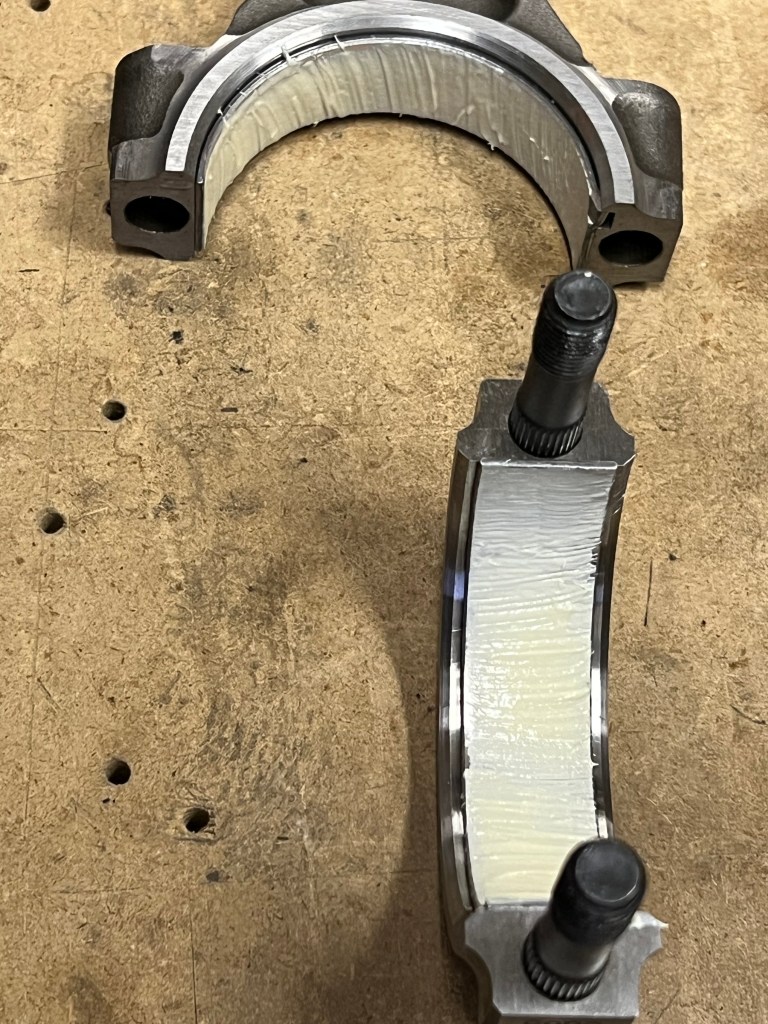
Next, I decided I wanted to check at least one of the journals for clearance. I purchased some plastigage online and proceeded to assemble the first rod on the crank with a piece of plastigage to check the clearance. The clearance is expected to be between .002″ and .0025″.


When I disassembled the rod from the crank the plastigage showed just under .002″ and more than .015″. This seemed appropriate and I did not check the remainder of the clearances as all of the parts are new.
I applied white lithium grease to all of the bearings and assembled the rods to the crank. I followed the directions in the assembly manual to keep all of the anti-rotation notches at the bottom of the crank. This resulted in the matching numbers also being towards the bottom of the crank. I did some research online and found that having the anti-rotation notches to the bottom is what is expected when assembly a VW type 1 engine.
I assembled all of the connecting rods to the crank and torqued the nuts in four steps to the required 29 ft-lbs. I then put the crank and rod assembly back into an extra large freezer bag with some desiccant to absorb moister and put it away for future assembly.

You must be logged in to post a comment.